
Tips for Underwater Videography and Photography
Underwater videography is a tricky business. You’re working in extremely variable conditions, with many of your faculties inhibited, and only one chance to get the perfect footage.
Yet, documenting the experience is such an incredible accomplishment. It has the power to solidify memories, bring you closer to your partners in adventure, and inspire others to go out there and try it for themselves.
What you need to know!
Whether you’re thinking of underwater videography for the first time, or are searching around for some insider suggestions, here’s our list of best practices for any underwater footage:
- Find the Best Camera
- Buy the right case
- Do the Prep Work
- Troubleshooting: Avoid the Fog
- How to Know When You’re In Too Deep
How to Improve your Underwater Videography and Photography
We certainly won’t just list those topics. Below we’ll lay out more detailed information for you!
Find the Best Camera
It’s a great time to shop for a new camera. In recent years, we’ve seen an explosion in the amount of high-quality, specialized equipment on the market. These are just a few to consider.
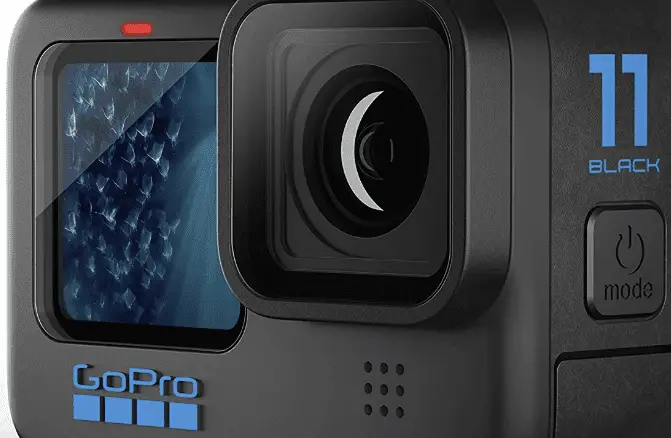
- The GoPro – this nifty little camera has made quite an impact on an outdoor adventure in the last few years, but for the world of underwater sports, the advances are especially exciting. GoPro cameras like the Hero8 are all well-suited for diving up to ten meters, and pretty much come ready for use.
The default setting is 1080p and 60 to 120fps depending on the model, and the company is now offering bundles specific to your underwater activity. Whether you’re snorkeling, diving, or surfing, there’s a specialized set of equipment ready for shipping, and you can just focus on having fun.
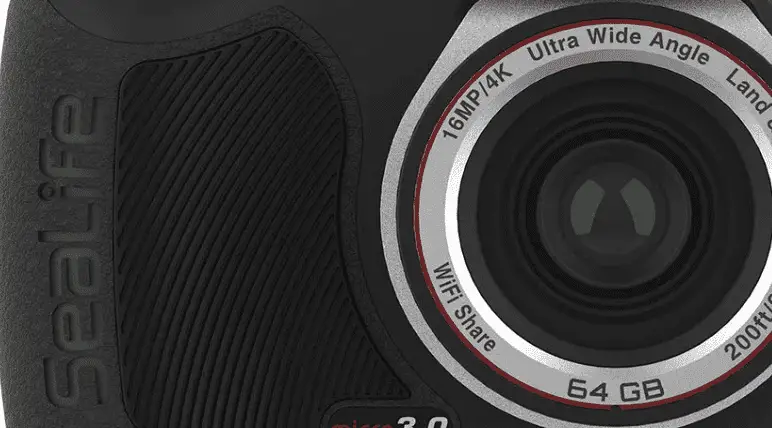
- The SeaLife Camera – Often touted as a great starting point for beginners, SeaLife offers a variety of underwater cameras for an affordable price. Where the GoPro is all about on-the-go action, this camera is going to appeal to more serious burgeoning videographers, with the capability to withstand 60 meters.
Its long-lasting battery will give you over three hours of use, and there are plenty of light attachments to create the perfect stunning video. Cost for the SeaLife is quite a bit higher than for the GoPro but you do get a potentially better suited video camera for diving.
Obviously, there are quite a few options out there, but these tend to be great beginner’s cameras to start underwater shooting.
Buy the Right Case
If you’re not interested in the waterproof cameras on the market, it’s also possible to buy a waterproof case or housing, instead. You’re likely to find a case for just about any kind of camera you may have at home for about $150 to $300. Alternatively, you can opt for the more standard waterproof case for a cheaper $30 to $50. This is a good option for anyone who may have other outdoor recreations and doesn’t want to shell out hundreds of dollars for a camera that will only work for one setting.
Do the Prep Work
Once you bring home the perfect camera, you’ll probably feel like putting it to use right away. But there are a few orders of business to take care of before you hit the water.
- Become a comfortable diver. Shooting film underwater can be a challenging and sometimes dizzying experience. You may find yourself frantically chasing the perfect shot, or forgetting where you are because you’re so focused on the subject.
But to make sure that you’re not getting vertigo in the process or start to drift away from your diving buddies, it’s a good idea to work on your diving skills before picking up the camera. - Learn the basics of your tech. There’s a lot that goes into underwater photography, from color filters, to focus, to stability, to the framework.
Even if you have a background in this stuff, shooting underwater is a whole different game, so it’s best to read up from experts who have been doing this for a long time. Once you’ve got the tricks of the trade, you’re ready to start exploring, yourself.
Troubleshooting: Avoid the Fog
Fogging is one of the most frustrating realities of underwater videography, but luckily, there are a few key ways to minimize the chances of it ruining your shot.
- If you’re using a housing, make sure to assemble your equipment in a dry setting. This can be an air-conditioned, room for example. You’ll also want to give yourself plenty of time to make sure there are no obstructions where the housing seals. Something as small as a hair is enough to let moisture in and create fog.
- For waterproof cameras, there are very limited ways for condensation to enter the camera, and that’s through the battery compartment. Make sure you avoid opening this anywhere other than in a dry environment (air-conditioned, again).
- For both options, there are also store-bought anti-fog remedies called desiccants, such as Silica Gel. They work by absorbing moisture to prevent fogging.
How to Know when You’re in too Deep
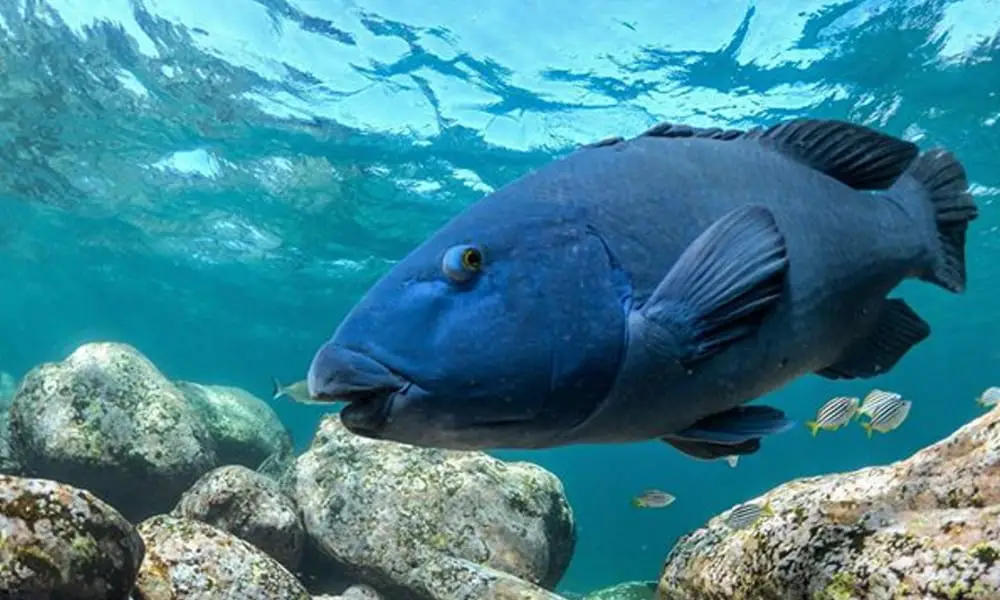
Our final tip: know how deep is too deep for the perfect lighting. Sure, there are lighting attachments and filtering lenses, but at a certain depth, you’re at risk for your video looking like a blue mess.
Ideally, you’ll find the most striking natural light within ten meters of the surface, where you can play around with sun rays, reflections, and backlighting.
Wrapping it up
With these suggestions in mind, you’re all set to jump in and start practicing! Once you’ve got your gear, all you really need to become a great underwater videographer or photographer is patience, enthusiasm, and some creativity. Good luck and have fun!